Sod Installation 101: What Texas Homeowners Need to Know
When you want an instant, durable lawn with minimal downtime, sod is one of the best options for Texas homeowners. Unlike seeding, sod gives you immediate grass coverage—no bare patches or waiting months for germination. However, to achieve long-lasting results, sod installation requires careful planning, precise execution, and thorough follow-up.
In this guide, we’ll cover:
- What sod is (and how it differs from seed)
- Best timing for installing sod in Central Texas
- Preparing your site step by step
- Installation techniques and tips
- Post-install care: watering, mowing, fertilizing
- Common pitfalls & how to avoid them
- Why hiring a pro often pays off
Let’s get into it.
What Is Sod, and Why Use It?
Sod is pre-grown turf pulled from a sod farm in rolls or slabs, with grass and a thin layer of soil (and roots) intact. When laid correctly, the grass begins to root into your soil almost immediately.
Advantages vs. seeding:
- Instant coverage — no bare ground
- Weed suppression — minimal weed growth compared to bare soil
- Uniform appearance — consistent grass variety and density
- Faster results — usable yard much sooner
However, sod is more expensive upfront and demands diligent aftercare during the early weeks.
When to Install Sod in Texas
Timing makes a big difference in sod success. In Central Texas:
- Ideal window: Spring (late March to May) and early fall (September)
- Avoid midsummer installs unless you have precise irrigation and supervision
- Don’t wait too late in the year—cold snaps or dormancy can slow rooting
If you must install in the summer, be sure to plan around your irrigation system and monitor it daily. Fresh sod can die quickly in heat stress if not managed carefully.
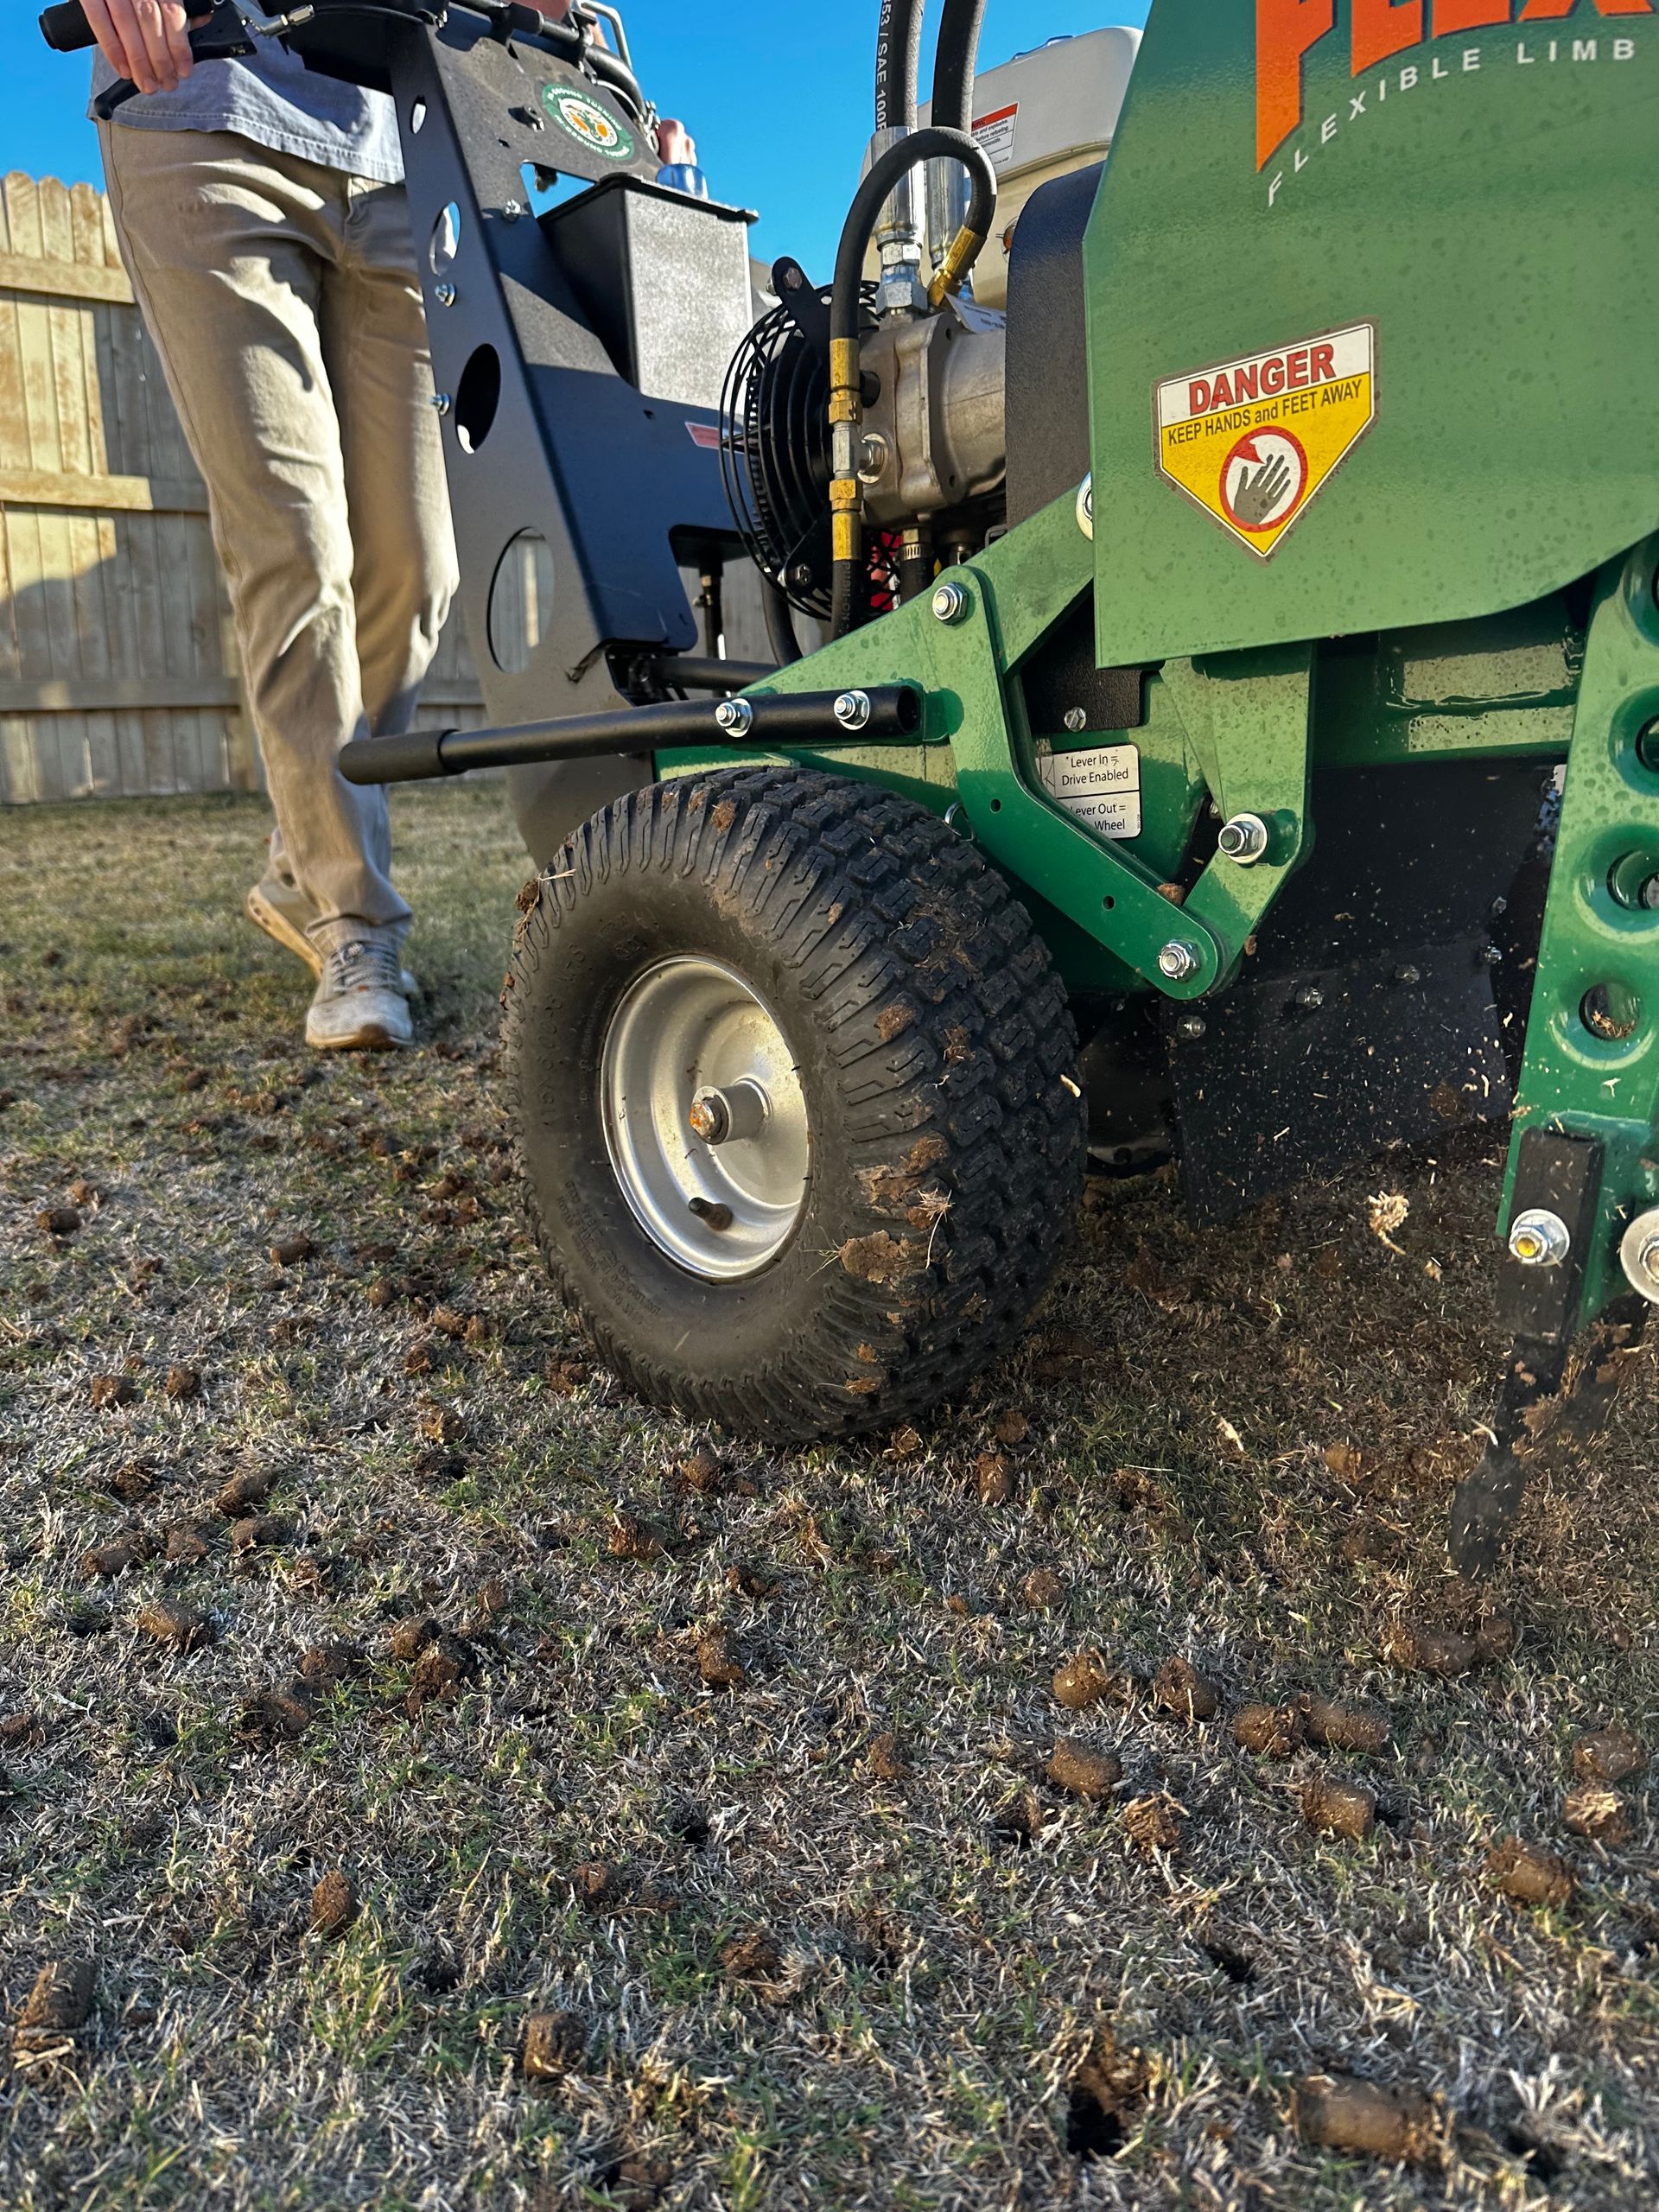
Step-by-Step: Site Preparation
Prepping the ground well is the foundation of success. Skipping these steps undermines your investment.
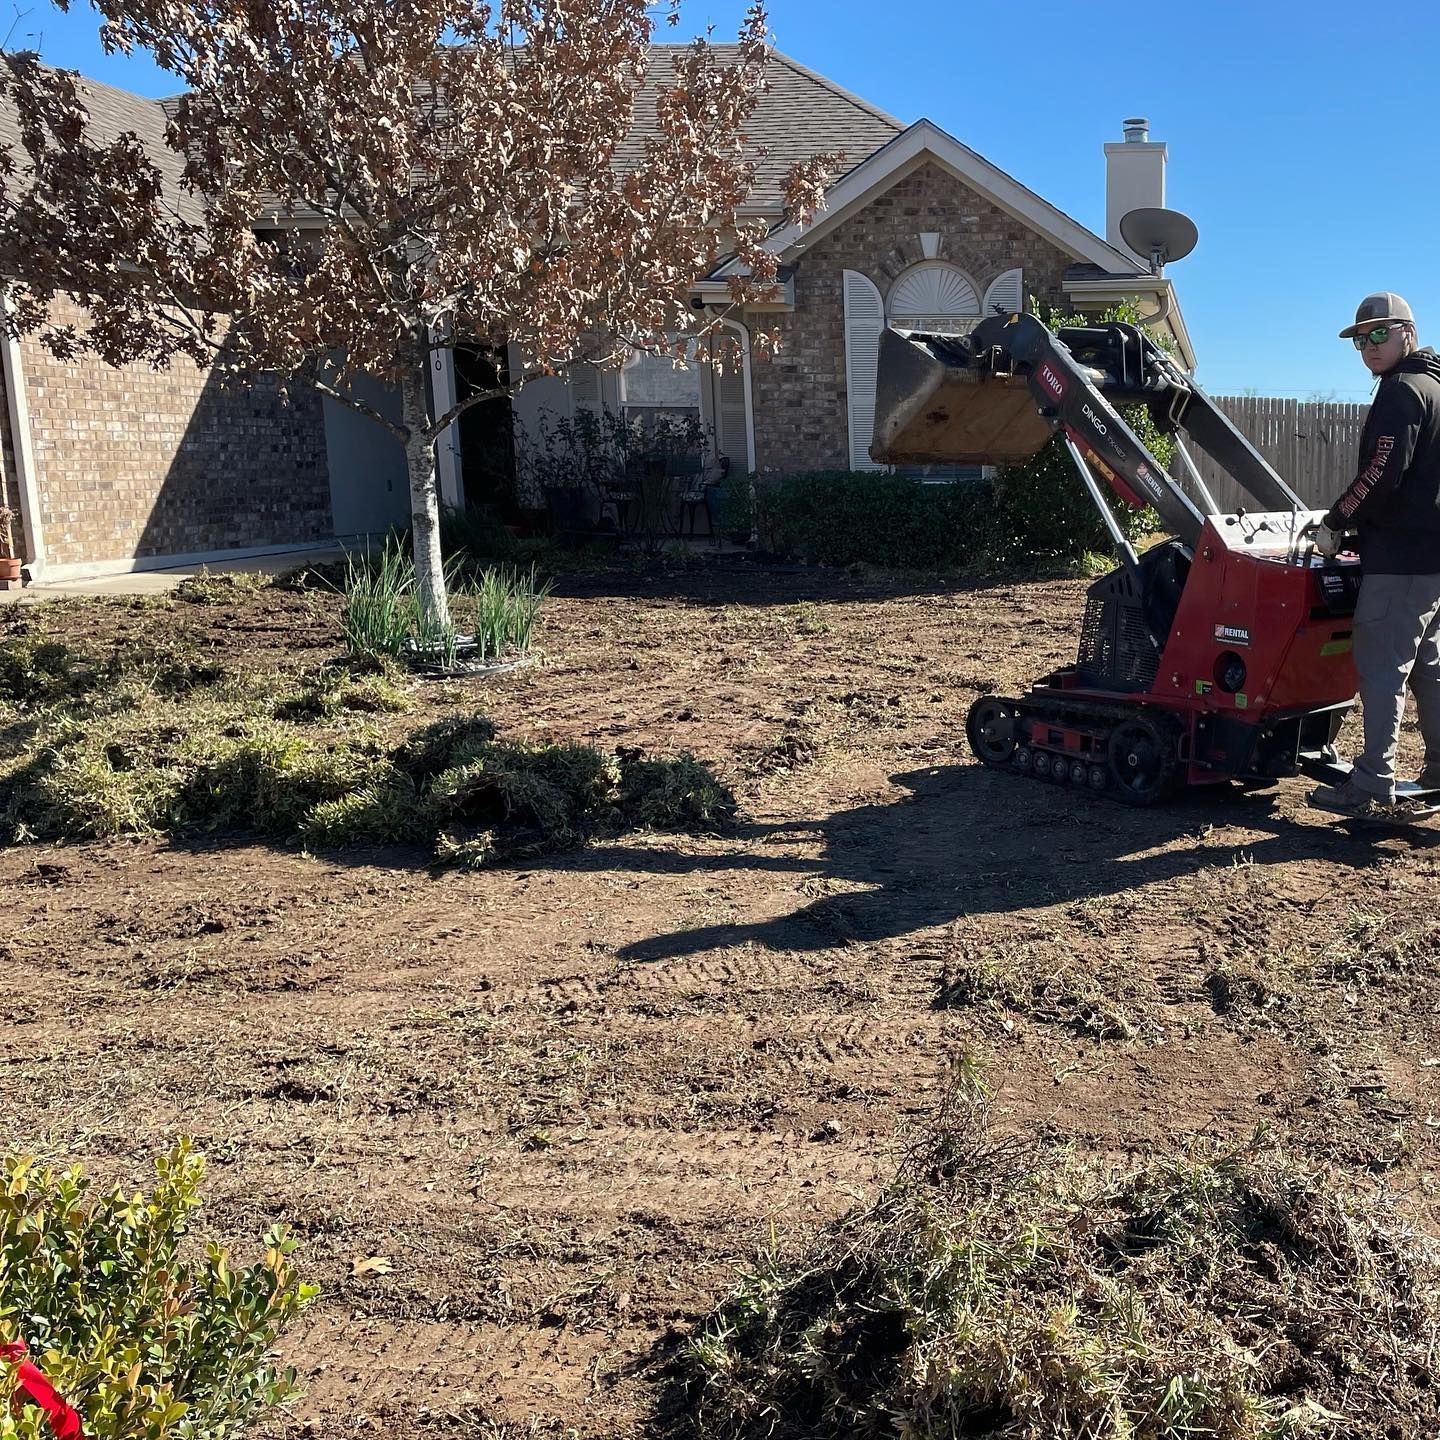
Remove existing grass, weeds, and debris
Use a sod cutter or shovel to eliminate everything down to the roots. You want a clean slate.
Grade and level the soil
Smooth the surface, fill low spots, and ensure the yard slopes slightly away from your house (1–2%) to prevent pooling.
Test and amend the soil
Conduct a soil test to determine the pH and nutrient levels. Amend your soil with compost, lime, or fertilizer as needed to improve its quality.
Loosen the top soil
Use a rototiller or rake to loosen about 3–4 inches. That gives roots easier access.
Final raking/smoothing & watering
Rake to eliminate clumps, then lightly moisten the soil. You don’t want mud; you want moist ground.
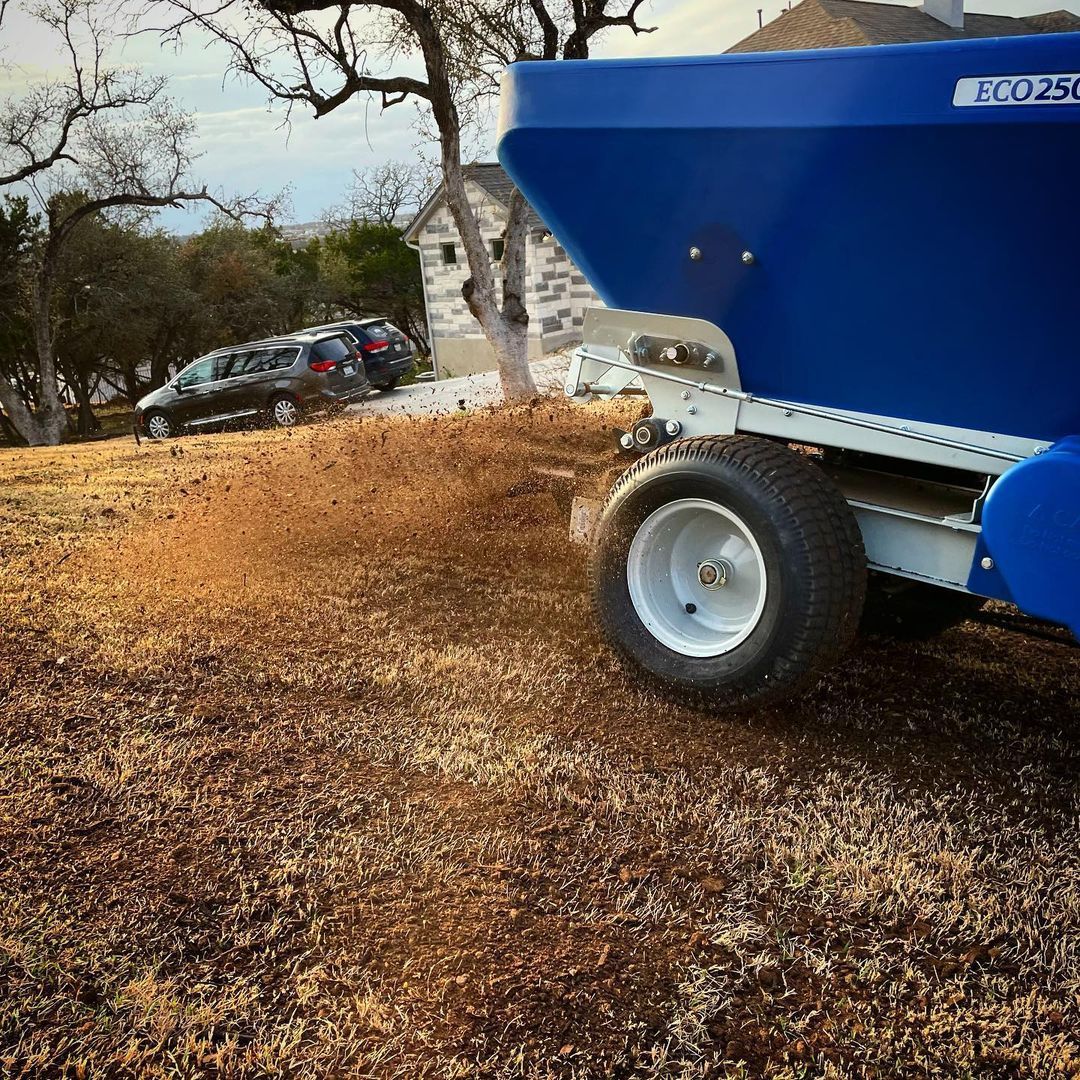
Apply starter fertilizer (optional but recommended)
Some lawn care professionals in Georgetown apply a starter formula before laying sod to provide nutrients to the roots from the very beginning.
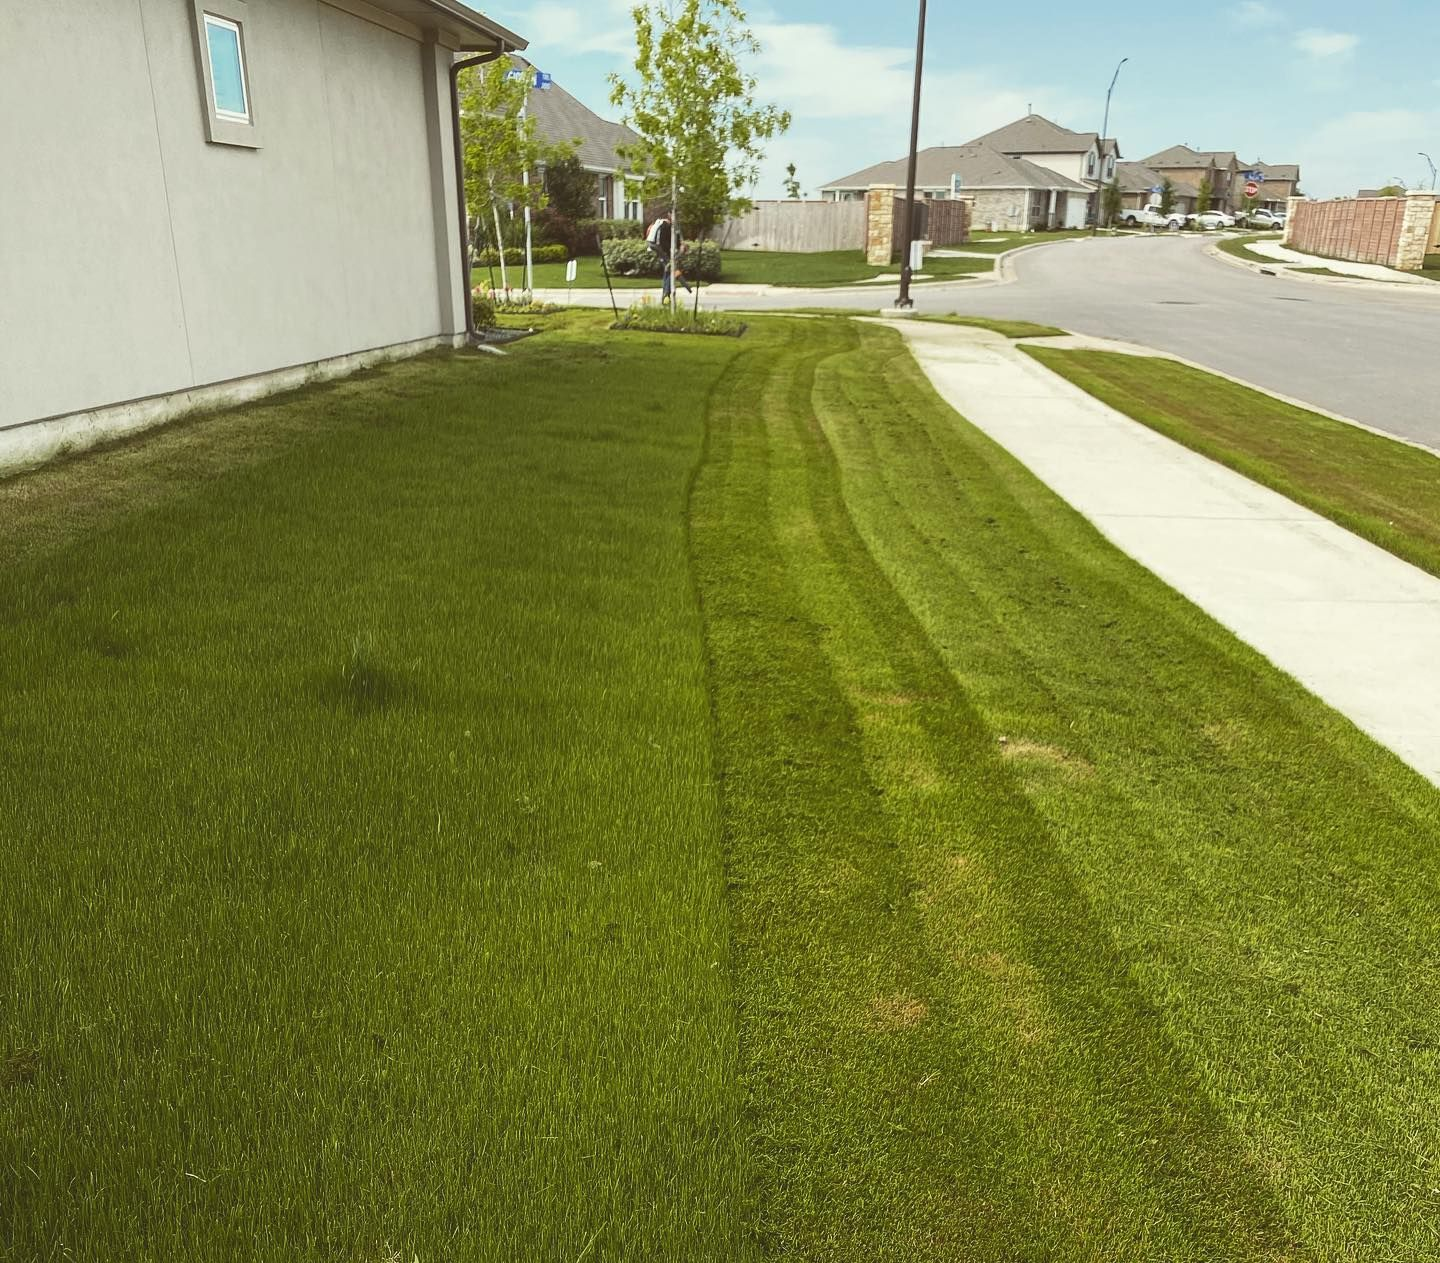
Laying the Sod: Best Practices
Once your site is prepped, it’s time to install.
- Start along a straight edge (sidewalk, driveway) to keep lines clean
- Brick pattern (stagger seams) — offset seams like laying bricks, not straight lines
- Butt edges tightly — no gaps or overlaps
- Cut to fit curves / around obstacles using a sharp blade
- Roll gently (if available) to press sod into the soil and remove air pockets
- Water immediately after installation, ideally within 30 minutes
When working on slopes, be cautious: lay sod across slope lines (not down) or use anchoring methods.
Aftercare: Watering, Mowing & Fertilizing
Proper care in the first weeks determines long-term success.
Watering
- For the first 10–14 days, water daily, ideally twice a day (morning & evening), depending on the heat and sun exposure.
- Adjust later to deep, infrequent watering as the sod roots.
- Monitor moisture by gently lifting an edge—resistance means roots are forming.
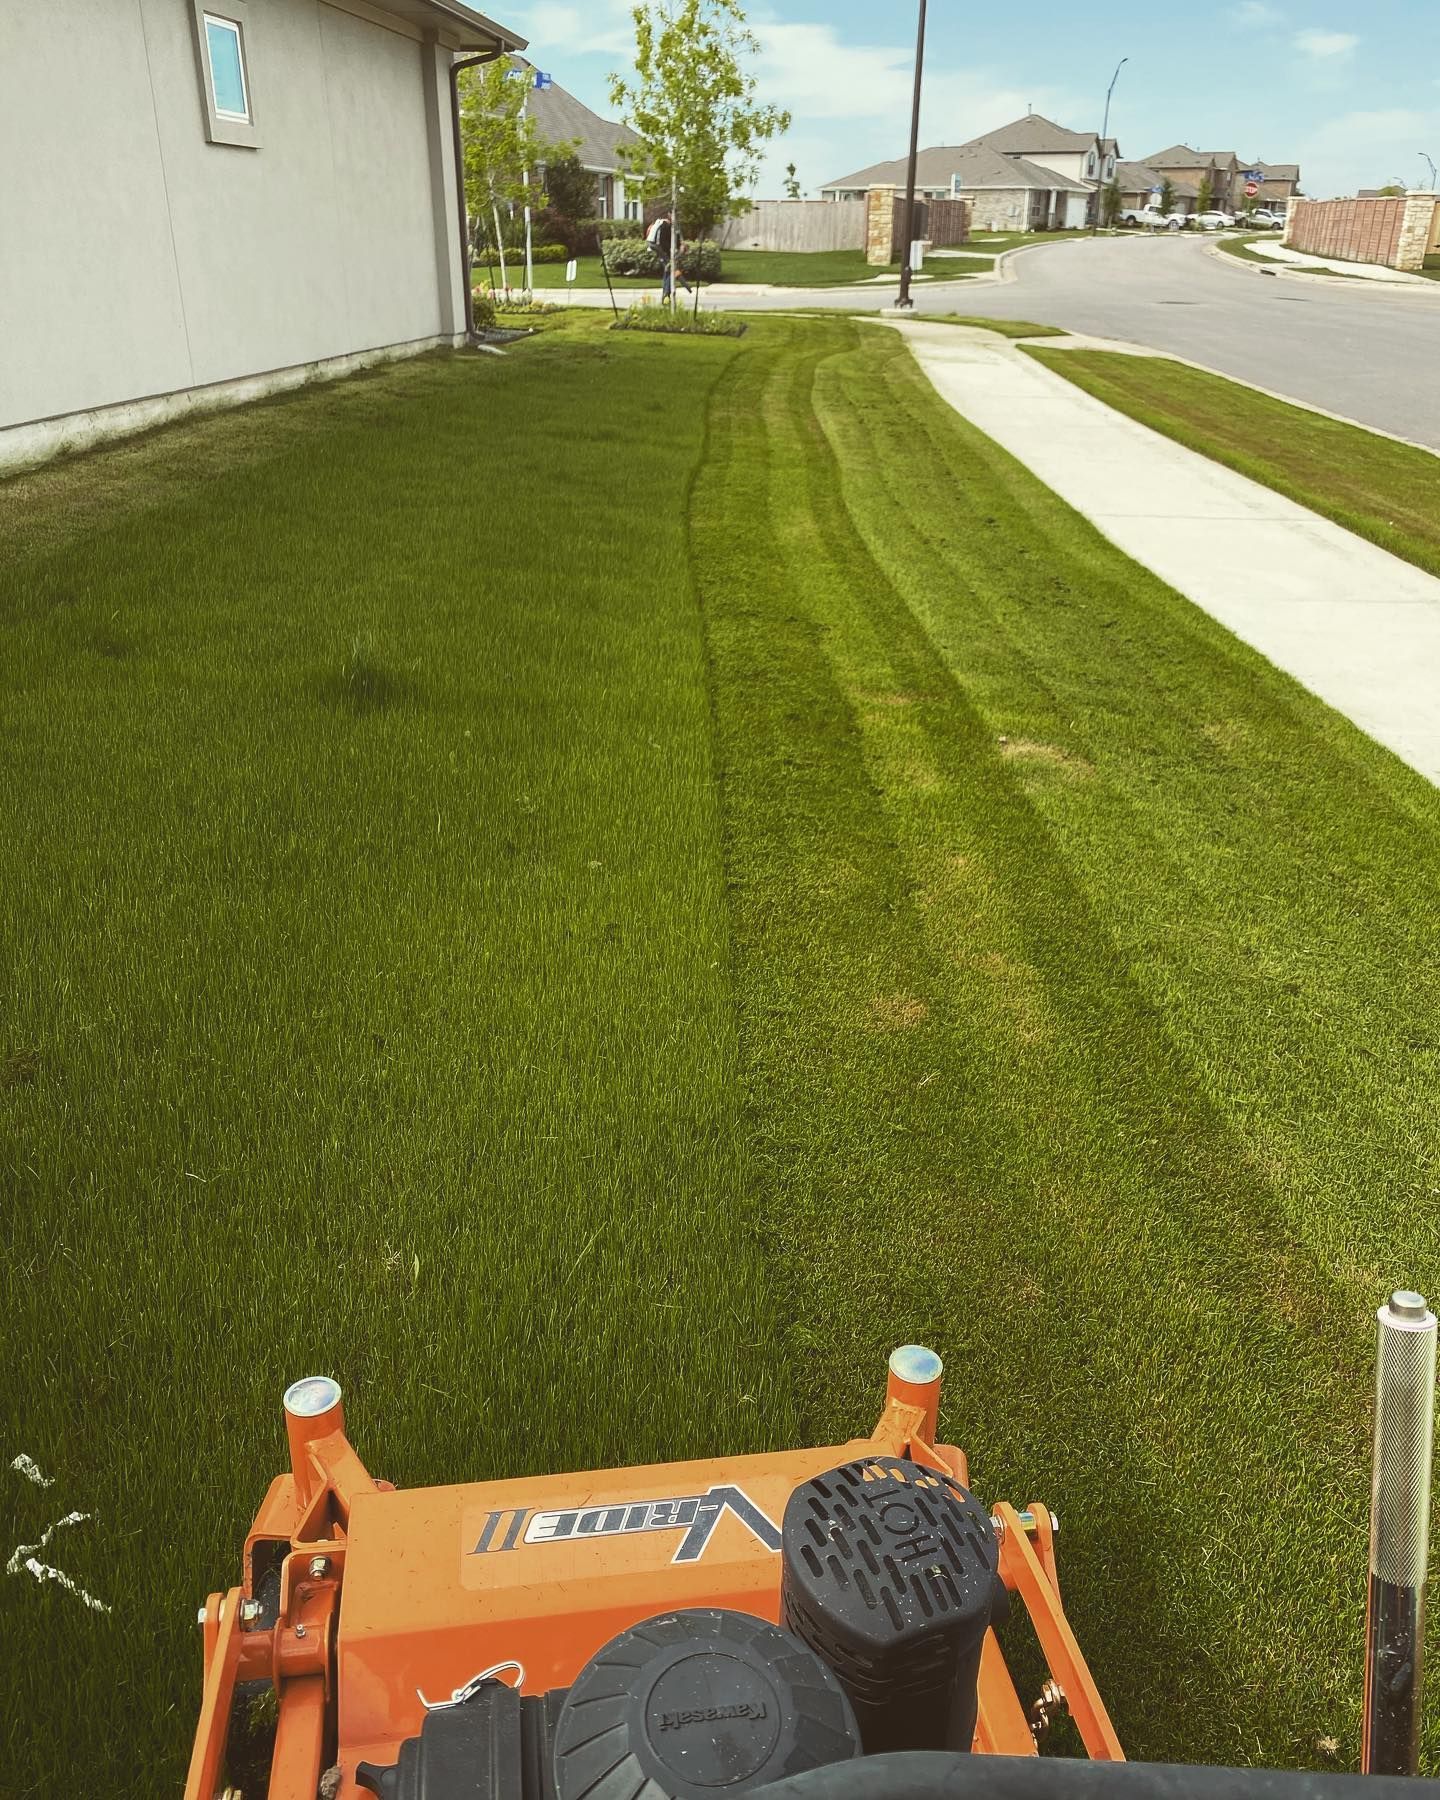
Mowing
- Do not mow until the sod is firmly rooted—typically 3 to 4 weeks out.
- On first mow, raise mower height to reduce stress.
Fertilizing & Weed Control
- Use a low-nitrogen starter fertilizer on the day of installation.
- Wait 60–90 days before applying broadleaf weed controls—new sod is sensitive.
Common Mistakes & How to Avoid Them
- Skipping site prep leads to poor rooting, uneven turf, or failure
- Laying too long after harvest — sod loses viability; install within 24 hours if possible
- Too much topsoil or thick layers — smothers grass
- Overwatering or underwatering — either kills new roots
- Mowing TOO early or too aggressively — weak roots won’t handle stress
- Using poor sod or contaminated product — weed seeds or disease may come with it
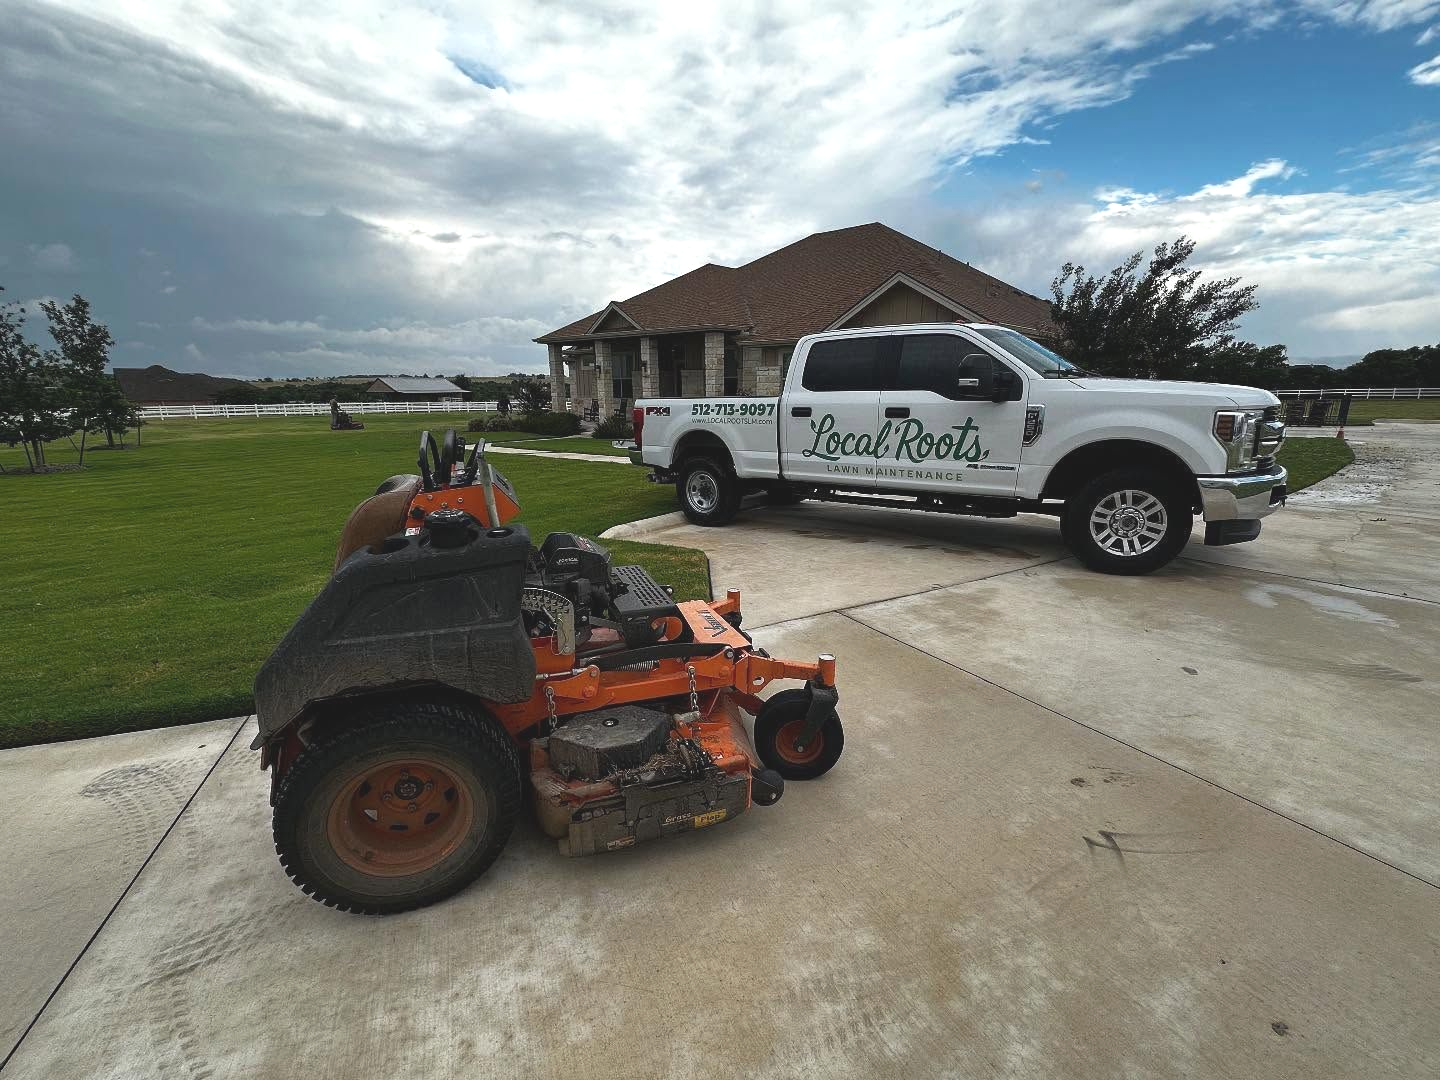
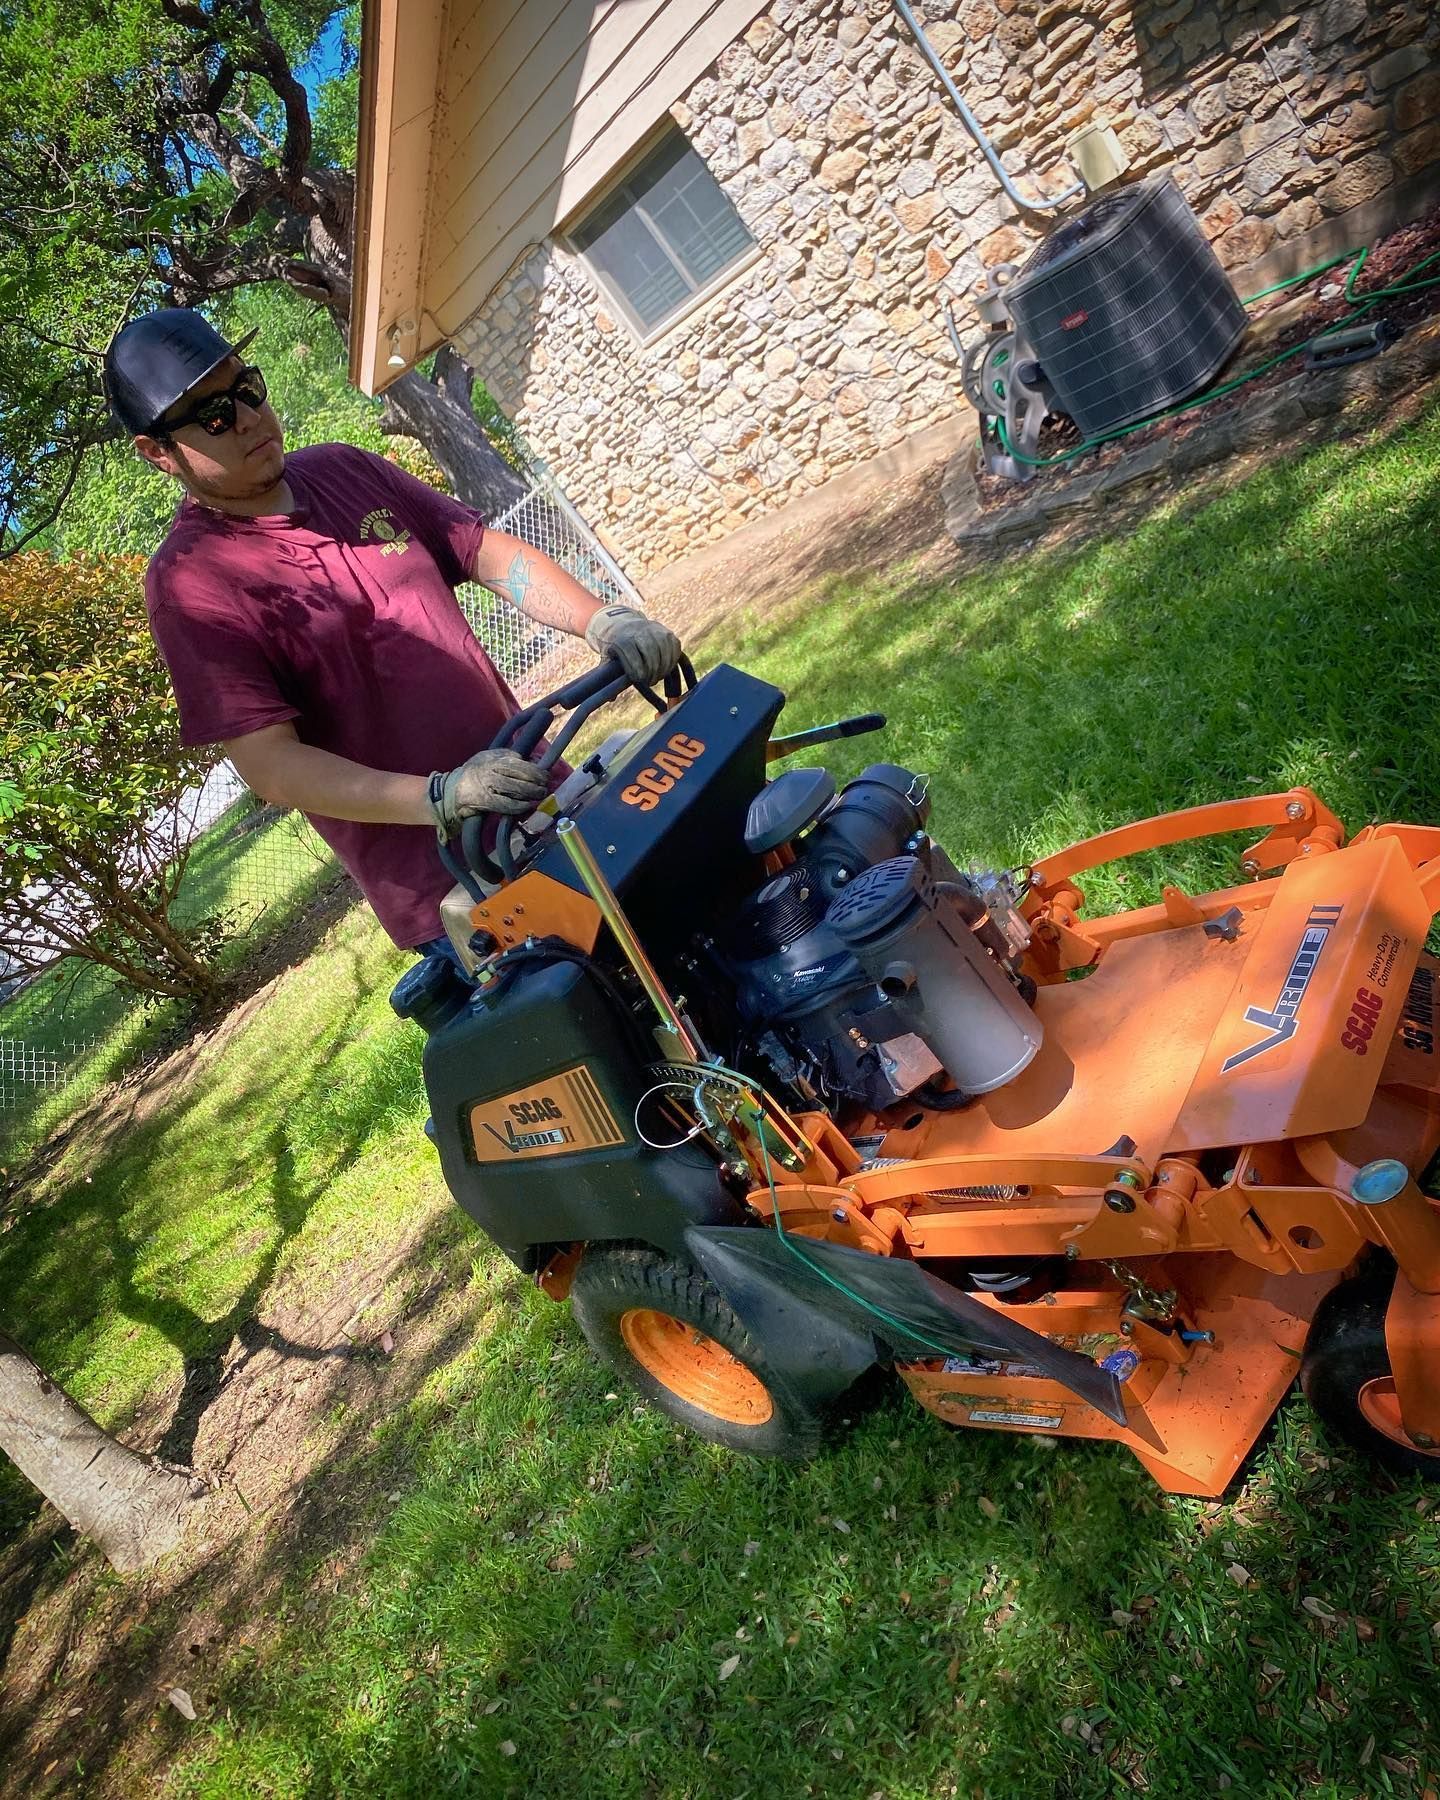
Why Hiring Professionals Often Makes Sense
- They have the equipment to prep, cut, and roll turf efficiently
- They source quality sod with minimal degradation
- They combine irrigation checks, leveling, and soil work in one package
- Many offer warranties or follow-up support
- You avoid the physical labor, guesswork, and risk
If you're offering sod installation as one of your high-margin services, ensure your team is strong in preparation, layout design, and aftercare.
Search Blog
Recent Posts