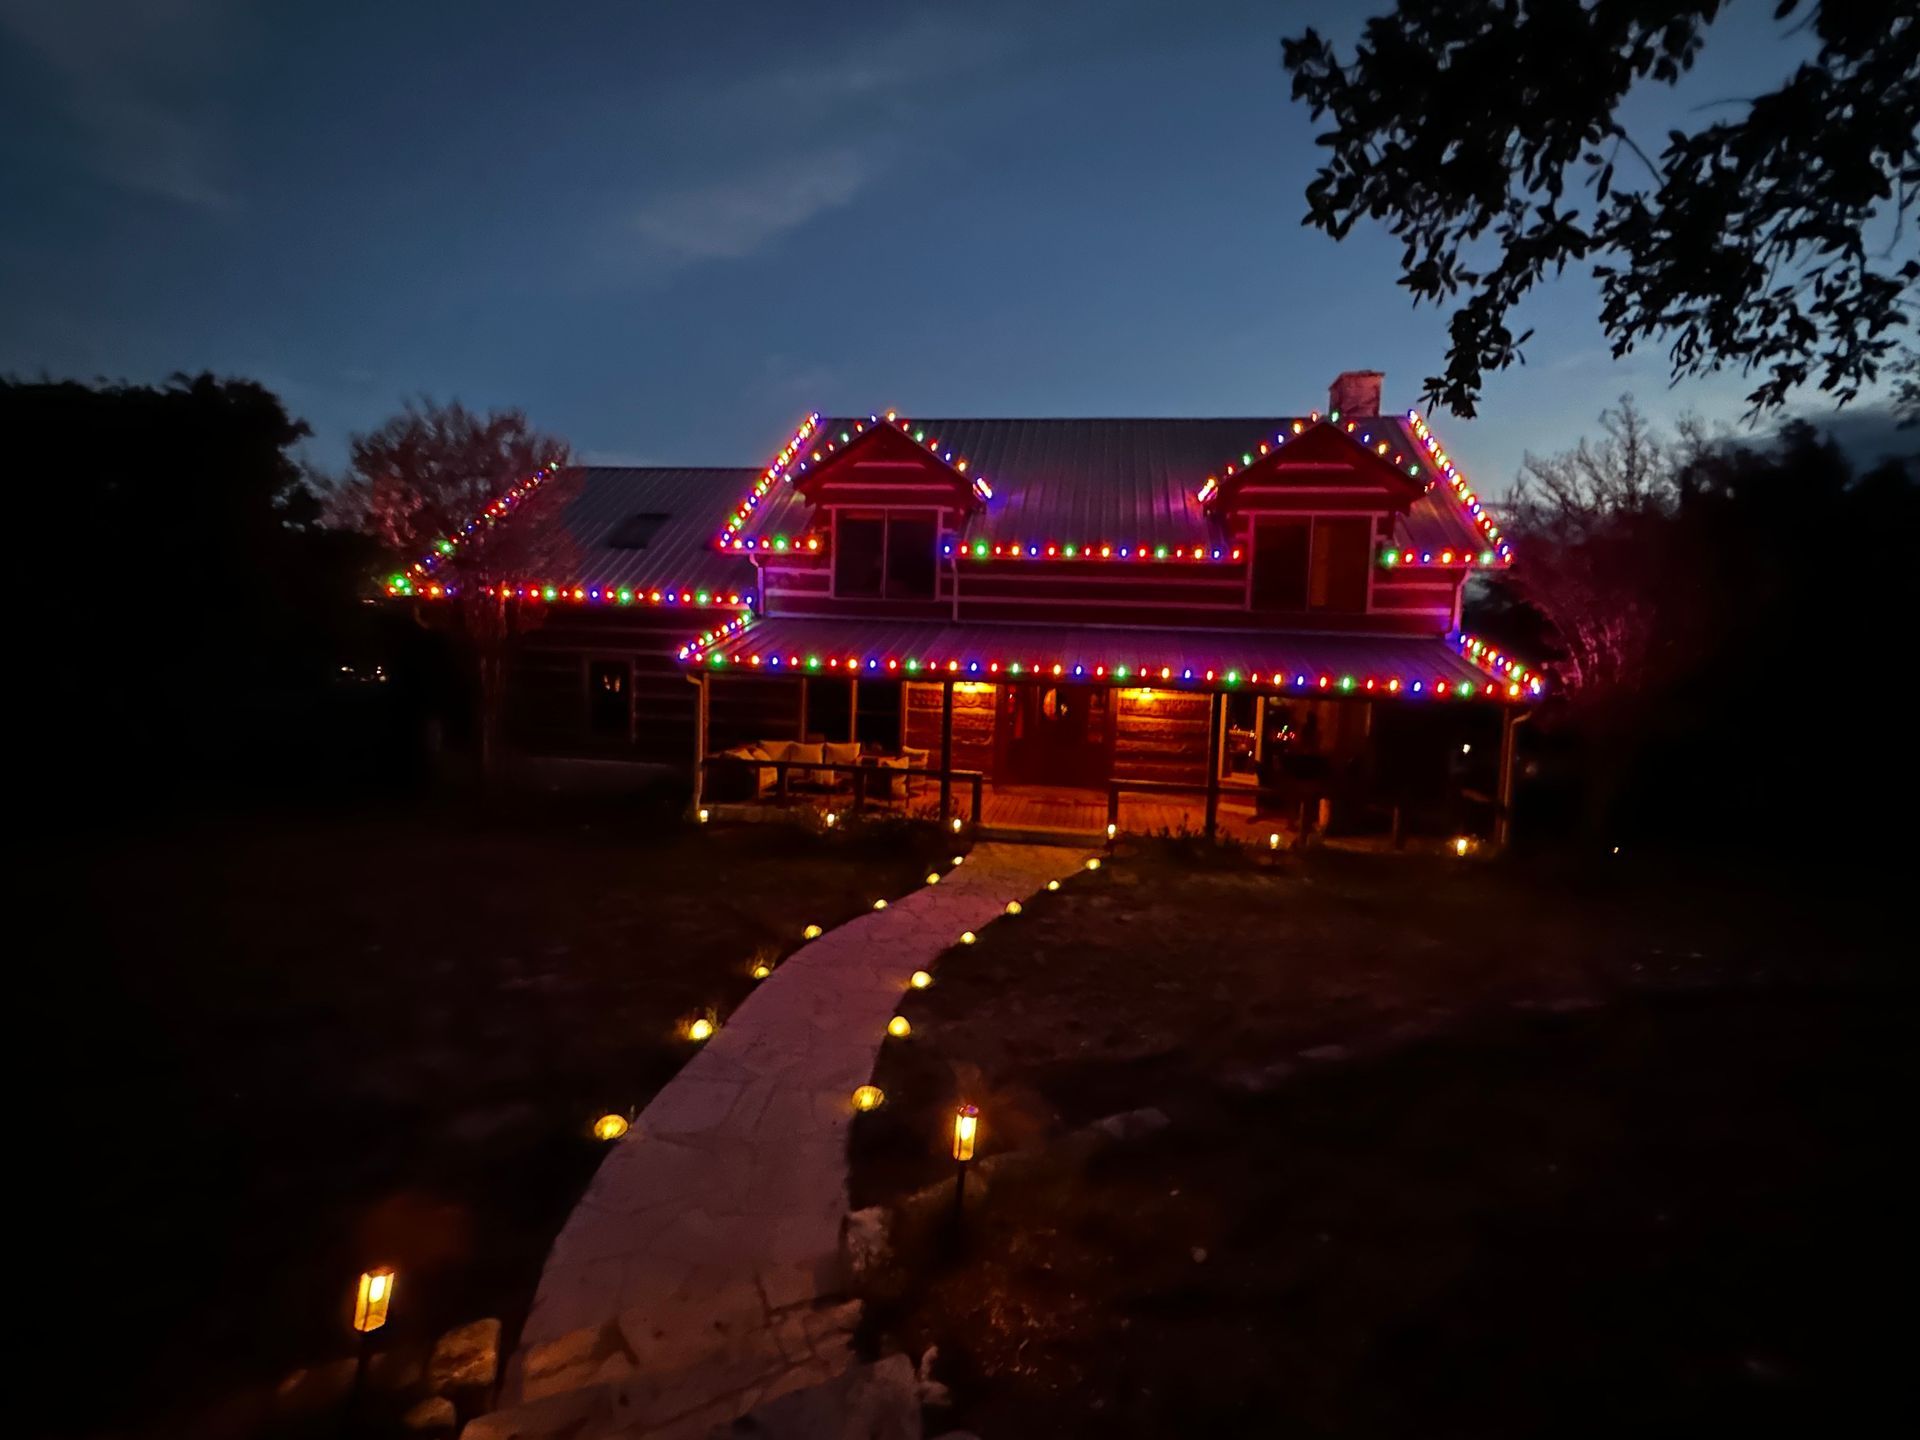
How to Prepare for Christmas Light Installation Season
The holiday season brings joy, sparkle, and the opportunity to make your home stand out. However, behind every dazzling display lies a considerable amount of planning, preparation, and meticulous execution. In this post, I'll guide you through the steps to prepare for a seamless Christmas light installation season before the cold hits.
You’ll learn:
- The ideal timeline and when to start
- What to inspect and prepare around your home
- Design tips to make your display pop
- Safety precautions to protect your family and property
- How local service providers (like us) make the process easier
Let’s dive in.
1. Start Early — Timing Matters
One of the biggest mistakes homeowners make is waiting too long. The earlier you begin planning, the more flexibility you’ll have—and the better your final display will look.
When to start:
- Late summer to early fall: Begin laying the groundwork (deciding on designs, ordering materials, and checking infrastructure).
- By October, you want everything scheduled, including deliveries, installations, permits, and so on.
- Mid-November: Lights should ideally be installed well before Thanksgiving or earlier, depending on your neighborhood and local traffic conditions.
Starting early ensures you aren’t scrambling for bulbs, clamps, or labor when demand spikes.
2. Inspect Your Home & Electrical System

Your home must be ready to support a holiday display. Before any lights go up:
Rooflines, gutters & fascia
Walk your roof edges. Look for damaged gutters, loose shingles, or sections that need repair. You don’t want to hang lights from anything unstable.
Outdoor wiring, outlets & power capacity
Check your outdoor outlets, extension cords, and circuit capacity to ensure they are sufficient. Overloading circuits is a leading cause of blown fuses or trips. Use outdoor-rated cords and ideally tap into dedicated circuits.
Trim back landscaping & clear pathways.
Trees, shrubs, or vines near gutters or roof edges should be trimmed so lights can be mounted cleanly without interference.
Secure mounting points
Decide where the lights will attach—gutters, roof edges, windows, or trees—and ensure the surfaces are clean, dry, and strong enough to support clips or fasteners.
3. Finalize Your Design & Layout
Good lighting is both an art and a planning process. A few tips:
Highlight architectural features
Rooflines, windows, columns, and archways naturally draw attention to focal points of natural lighting. Use accent lights to bring out those details.
Layer your display
Use a mix of outlines (roof, eaves), spotlights (trees, pillars), and depth elements (nets over shrubs, wrapping columns).
Plan your color scheme.
Go with a cohesive palette (warm white, cool white, color) rather than mixing too many colors. Clean transitions look more professional.
Map it out
Sketch or overlay a plan of your house, labeling where each strand, extension, or fixture will go. This reduces confusion during installation.
4. Order & Inventory Materials in Advance
With your layout nailed down, it’s time to get supplies:
- Light strands (LEDs recommended)
- Clips, fasteners & mounting hardware
- Extension cords rated for outdoor/weather use
- Timers, controllers, or smart plugs
- Bundles or reels for storage
- Replace any damaged or old strands
Order early to avoid being stuck with a limited selection or poor stock.
5. Work With a Professional Installer (or Plan Carefully for DIY)
Many homeowners prefer to hire Christmas light installation professionals—especially as displays become more ambitious. Here’s how a good service helps:
- They bring experience designing displays for varying architecture
- They know safe electrical practices, circuit limits, and backup handling
- They handle labor, permitting, insurance, and mounting
- They can include a 24-hour repair guarantee (from Thanksgiving to New Year’s)
- They manage takedown and storage at season’s end
If you go the DIY route, make sure you follow standard safety practices (use GFCI outlets, avoid overloading circuits, secure ladders properly).
6. Schedule the Installation & Communicate Clearly
Once your install date is set:
- Confirm with your installer the design, scope, and timeline
- Send them your layout and material list
- Ensure your property is accessible (mow, remove obstacles)
- Provide power access or maps to the outlet locations
- Discuss maintenance during the season (bulb replacements, system checks)
A clear plan and communication help avoid surprises on install day.
7. Post-Installation Care & Maintenance
Your lights aren’t “done” once they’re up. Maintenance ensures your display stays flawless:
- Test every strand immediately after installation
- Track and replace burnt-out bulbs quickly
- Use timers or smart controllers to automate on/off times
- Monitor wind, rain, and weather impact; adjust mounts if needed
- Keep power loads within safe limits—don’t exceed circuit capacity
- Schedule a removal date ahead of time
Great installers also offer maintenance packages, so you don’t have to watch it every night.
8. Take Down, Pack, & Store for Next Year
Taking lights down properly is just as important as installation:
- Power down all displays before dismantling
- Remove lights carefully—don’t yank or tear
- Clean and inspect strands for damage
- Label and wrap each strand neatly
- Store in tubs or spool systems to avoid tangles or damage
- Store hardware (clips, brackets) together so nothing gets lost
Good storage preserves your display for years to come.
9. Why It’s Worth the Effort
- A beautifully lit home boosts curb appeal and neighborhood pride
- You avoid last-minute hassle, limited inventory, and rushed installs
- Hiring a pro or planning well helps avoid safety risks and electrical issues
- Annual reuse becomes easier when everything is mapped, stored, and documented
- With our wider service area, we make sure your home shines whether you're in Georgetown, Round Rock, or beyond
If you're ready to get ahead of the season and ensure your home looks its best when the holidays roll around, we’ve got your back. Whether you need a custom design, a complete installation, or a maintenance plan with 24-hour repair coverage, let us take care of it for you.
[ Request a Free Christmas Light Quote ] | [ View All Services ]
Search Blog
Recent Posts